Sunday, December 19, 2010

Been awhile!

Domo-Kun Hat
(note: I tried to list this on Etsy and was reported as having
violated copyright for Domo... Just FYI, the company who
owns the rights are nazis and not especially friendly people)
I have been crocheting, but I haven't been updating here for awhile! I've made quite a few Castle Crashers hats for fans on Etsy, as well as baby hats and starghans for friends and family. I also made a domo-kun hat with a bit of pseudo-intarsia.

And a dog sweater for my puppy (though he has since grown out of it, ha).

Right now, I'm working on play food again, this time for a different friend's daughter. I've been looking all over the internet again for inspiration and patterns and have, again, found several.

So far, I've made several more strawberries (what can I say? I like how they come out!), a few chocolate chip cookies (a different pattern than the one I did before smaller)
Christmas Tree Sugar Cookie (crappy cellphone photo - sorry!)
- a Christmas tree cookie: Created using Suzie's pattern for a tree here. My modifications:
For the bottom tree, I simply added another row to each section and adjusted the following rows accordingly (9hdc after row 3, 7hdc for row “4”, 11hdc after row 7, 9hdc for row “8”, 17hdc for the final row).
Then, I embroidered white lines to the front of the green tree and sewed the green tree to the bottom tree.


- A few fried eggs
- A donut
-Some sushi rolls:I intend to make some with red in the middle, some with red & green and maybe some with red, green & orange.

5sc into a magic ring with “filling” color(s)
ch1, 2sc into each sc with white, join w/sl st - 10 sts
ch1, 1 sc, 2sc all around, join w/sl st - 15 sts
ch1, Sc in fr loops only with brown, join w/sl st - 15 sts
5 - sc around - 15 sts
6 - ch1, sc in fr loops only with white - 15 sts
7 - ch1, sc, sc2tog - 10 sts
8 - ch1, sc2tog with “filling” color(s), finish off - 5 sts


I intend to also make another banana, probably another corn, some more cookies, maybe some pizza, toast, sandwich...

I also want to finish making some rattles for another friend's daughter (donut type with the heads of Hello Kitty, Minnie Mouse, Princess Leia and perhaps a 4th girl one).

Wednesday, August 4, 2010

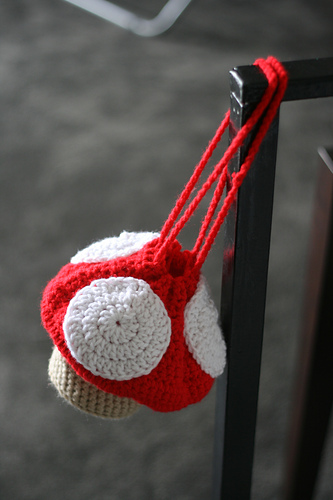
Mushroom Purse

I've been pretty busy the last few months, shooting weddings (I'm a photographer when I'm not crafting!), folding origami, and crocheting. I've made a bunch of hats and afghans mostly, though I also made this:


It's a purse shaped like a mushroom, inspired by the Super Mushroom in Mario Bros. A friend requested it, so I went to work on figuring out how best to make it a mushroom and a decent-sized purse. The bottom is reinforced with the lid of a jar so that it will keep its shape even with some heavy-ish things inside it.
Drawstring opening...
My sunglasses for scale!

Pattern available for purchase on Ravelry.com here.

Thursday, May 27, 2010

Hello Kitty Pillow


I'd never made a pillow before, so this was definitely new for me. It was a little snug around the short side (a couple more stitches would have been good), and the letters were absolutely winged (I had no pattern), but I think it turned out!

It was actually my husband's idea to make a place for the Hello Kitty amigurumi to "sleep" with my friend's daughter. :)

New projects!

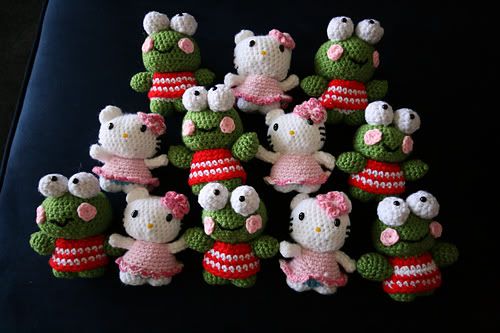
It's been quite a busy time for me lately. I've made a small (12x16) pillow for a friend's daughter and 12 Sanrio characters. I'm also getting close to finishing the star afghan for my other friend's as-yet-unborn daughter. And I've been taking a cake decorating class at Michael's this month.

Oh, and I got old this month, too. I'm now nearly 26 and one month old and on my way out of my mid-20s!

My first Keroppi (I used the Tiny Hello Kitty pattern (Raverly link) as a base.

Mods:
I added an extra row of scs to the head (rows 6-10 go 6-11 instead and then start decreasing), obviously didn’t do the ears and did the arms a bit differently.
Eyes: (with white - the pupils are safety eyes)
magic circle, 6 sc
1: 2sc in each (12 sts)
2: sc around (12 sts)
3: 4 sc, sc2tog, 4 sc, sc2tog (10 sts)
4: 3 sc, sc2tog, 2 sc, sc2tog (8 sts)

Arms:
magic circle, 5
1: 2sc in each (10 sts)
2: sc around in BLO (10 sts)
3-4: sc around (10 sts)
5: * sc2tog, sc * 3 times, leave remaining unworked (6 sts)
Turn arms inside out

Oh, I also made his underwear white instead of blue, haha. ;)

“Blush”/Dimples/Cheeks:
ch2, 6 sc into 2nd st from hook
Fasten off. Trim excess and sew onto face.

My army!

Wednesday, April 21, 2010

Pillow Forms and Throw Pillows, And a new Living Room

This is mostly a note for me, but I also thought I'd share it with anyone else who may find this blog. :)

We are redoing our living room quite a bit. We have/had a huge 36" Sony CRT that weighs 280lbs and equally huge speakers [4' tall - like you'd see at a rock concert] taking up a decent amount of space in our living room and now had a 55" Samsung LCD LED that is up on the wall above our fireplace and will have a much smaller 5.1 speaker setup. In order to mount the new TV on our wall, we had to take down the floor-to-ceiling mirrors that covered that wall and then paint it. We painted it Glidden's Soft Sapphire, a medium blue.

We're also getting a new sofa that will be a dark Royal microsuede blue that will go into the corner and open the room up considerably.

We currently have some grayish-blue throw pillows (to accent our medium-gray microfiber sofa & love seat) which will go with our new sofa, but I want some gray (our other walls will be Glidden's Polished Pewter and our carpet is a dark gray), silver and black and maybe some dark blue throw pillows. I picked some black ones up at Target ($9.99 each - yay!).

As this blog is, of course, a crochet projects blog, I'll get to the crochet project part! I'm making a small (12x16) pillow for my friend's daughter and bought a pillow form from Joann Fabric & Crafts last week while they were half off and that inspired me to crochet us some new throw pillows! I'll likely use Caron's Simply Soft and Red Heart's Soft yarns and am eyeing this Zig Zag pillow on Michaels.com.

Naturally, I don't want to spend a whole lot on these pillows (I'm cheap, remember?), so I've been trying to figure out where else to get cheap pillow form. I've been on the lookout for throw pillows at thrift stores (no luck), but and here is where I get to the point!: I found a good-sized pillow form at Target for $4.99!! It's part of their "cover your own throw pillow" thing, which is great. I'd say it's probably 18x18.

Thursday, April 8, 2010

GlassEyesOnline and Hello Kitty

My order from GEO was shipped 8 hours after I ordered and arrived a couple of days after that! I think I've found myself a new place to buy from. :)

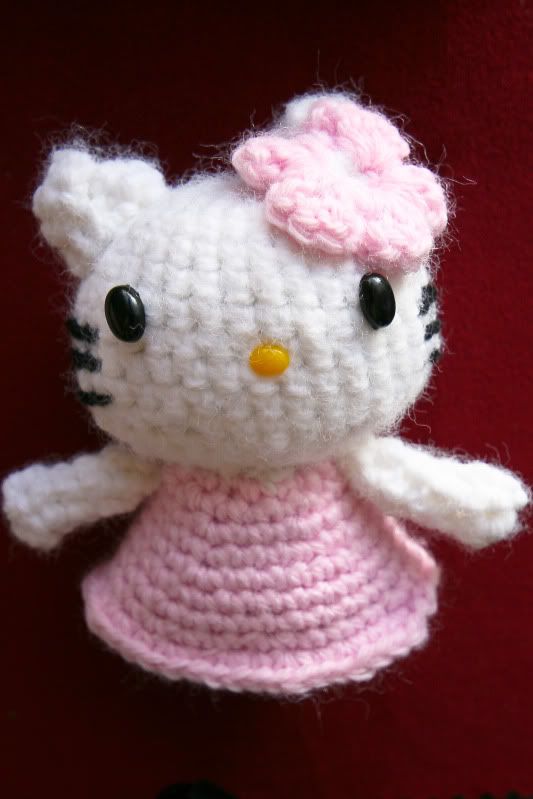
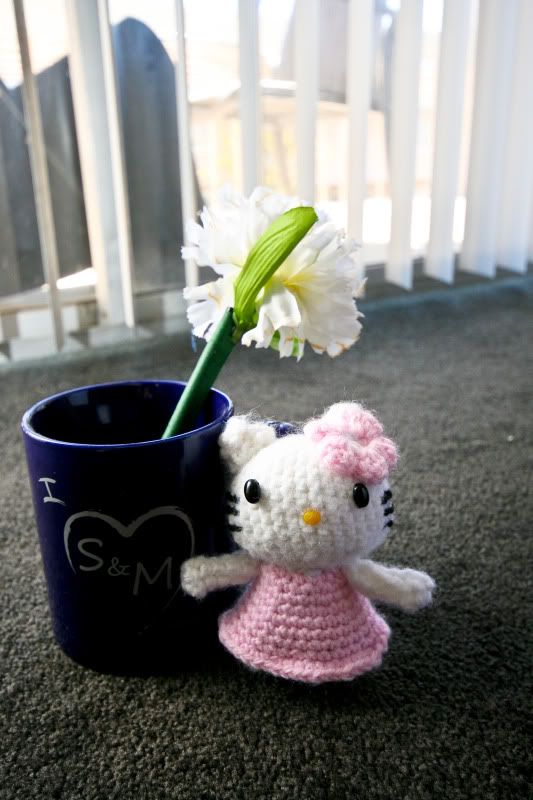
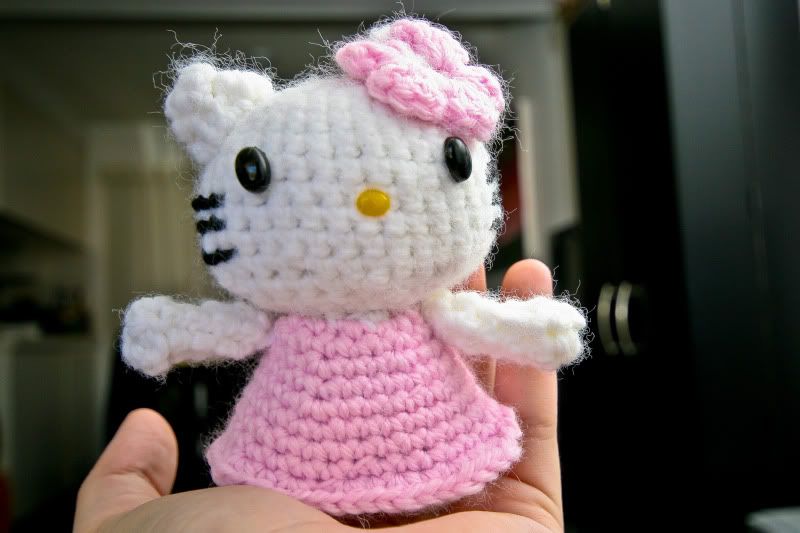
Upon receiving my eyes and noses, I made a little 3.5" Hello Kitty using this pattern (that's a ravelry link, just fyi).


Tuesday, March 30, 2010

Buying Bulk (or Not!) Safety Eyes - Harvey's Hobby Hut or Glass Eyes Online?

Upon getting a request for Hello Kitty, I started looking into the best way to make her eyes (as she has slightly oval eyes that are bigger than the 8mm round safety eyes I have). I was thisclose to ordering from Harvey's Hobby Hut when I happened upon Glass Eyes Online. You can buy eyes by the pair there and they give bulk discounts depending on how many you buy. The nice thing is that you can get a variety of eye colors of the same size and get a discount. They also have yellow Hello Kitty noses, oval noses (or eyes) in a few different sizes and colors, pink heart noses (I have no clue what I'll put them on, but I got quite a few 'cause they're cute), triangular noses, "sparkle" eyes, and all sorts of other things. And if you spend more than $25, you get free shipping!
I still like Harvey's and will have to write a proper review when I receive the order I sent to Glass Eyes, but it was nice to not have to pay $5.35 for s&h.
GSO's eyes are a bit pricier for the amount you get at HHH:
Price per 25 pairs of 9mm safety eyes:
GSO = 19 cents per pair of 9mm safety eyes
HHH = 12 cents per pair for 25 pairs
But not when you consider s&h:
GSO = $8.35
HHH = $9.25
AND the fact that you could have 3 pairs of blue, 5 pairs of black, 7 pairs of green, 2 pairs of red and 3 pairs of orange for GSO's price rather than just 25 pairs of black.

HHH is in Idaho while GSO is in South Carolina, so it will be interesting to see how quickly I get my order! HHH got them out to me in a couple of days and they arrived a couple of days after that.

P.S. Naturally, I've made 3 cupcakes since I last posted and gave them away before photographing them! I had every intention of doing it this time, but didn't even finish sewing and stuffing the last two until literally a minute before arriving at my friend's surprise party! (10 minutes late, but thankfully 10 minutes before she arrived! And no, I wasn't driving :P) I made a tan/light blue one, a red/white one and a brown/pink one with embroidered faces on them.

Friday, March 12, 2010

Japanese Patterns - Chihuahua!

So I have a few crochet pattern books that are entirely in Japanese. I just realized I might have been able to ask my "cousin-in-law" (who knows the language) for help, but no need! I was intimidated by them for awhile, figuring I needed to know how to translate Japanese to English. It took me needed to make a Chihuahua amigurumi for a friend to finally look into how to read it - And I'm SO glad I finally did! It's way easier than I thought since they use a bunch of charts with symbols and numbers are universal. I was a bit weary when I looked up symbols and realized that the ones in the Ami Ami Dogs book I have were nowhere to be found, but it was pretty easy to figure out what /x\ meant.

I used large shank buttons for the eyes and embroidered his nose and mouth with black yarn. The bow collar is removable (it's "closure" is a hoop that loops around the bow).
I give you, Melanie's Chihuahua:
Amigurumi Chihuahua
Amigurumi Chihuahua
Amigurumi Chihuahua

Sunday, February 28, 2010

PATTERN: Toast Play Food or Dog Toy


My husband & I drove to Phoenix the first week of January 2010 to visit our friends Jason and Beth and I crocheted during the 6-7 hour drive and a bit while visiting. Their dog, Raiden, kept grabbing my balls of yarn, so I decided to use the toast I was making into a toy for him.

For a dog toy, I would highly recommend sewing the rounded tops of the toast together more so that there aren't loose spaces between the triple crochets (Raiden pulled those apart pretty quickly, proving them to be definite vulnerabilities!). I used 4 pieces of toast for this toy and crocheted them together.

For play food, I think it would be fine to only use 2 pieces of toast with stuffing in between. Reinforcement isn't as necessary.


I used worsted weight yarn and a 5.5mm hook.

Toast: (make two or four)
ch16
Row 1: starting in 2nd st, sc 15 - 16 sts
Row 2-8: ch2, dc 16 - 16 sts
Row 9: ch1, 7 tr in 4th st, sl st in 6th st, sc 2, 7 tr in 4th st from end, sl st & fasten off

For play food, sc border in a darker brown on both.
For dog toy, sc border in a darker brown on two of four.

Butter: With yellow, ch6
Row 2-4: sc 5 across
Row 5: sc 5 across, Fasten off.

Assembly: For dog toy, reinforce tr. Sew butter patch(es) to desired pieces. Sc together all 4 pieces of toast with dark brown. Add jingle bell or two in between middle pieces if desired.
For play food, sew butter patch(es) to desired pieces. sc together with dark brown, stuffing before the final stitches.

Saturday, February 27, 2010

PATTERNS: Play Food!

It's been a busy couple of weeks with hats and photos! But I fortunately finished up my most recent order on Thursday and had enough time to make some crochet play food for my friends' daughter for her 4th birthday.

I do not have photos (sadly) of any of my handiwork this time since I wanted to spend my time making food for her instead of documenting. I made her:
- A banana and corn (with faces, using THIS fantastic pattern!)
- A giant chocolate chip cookie (I winged this one: start with 6sc into a magic circle and increase until it's the size you want. Make two of those, embroider "chips", then stuff and sc together)

- A set of duos and "oreo" sandwich cookies:
I basically did 3 layers - cookie, cream filling, cookie - all the same and sewed them together.

Rnd 1: 12sc into magic/adjustable ring (12 sts)
Rnd 2: 2sc into each st (24 sts)
Rnd 3: Sc through both loops all around. Fasten off. (24 sts).
Sew cookies with “wrong” side out so that you get the texture.

While I feared they may be too flat, I think that making the filling the same size as the cookies helped keep it from disappearing (I’m not sure if others do it that way as well as I didn’t really look around much).


- A cupcake (using THIS pattern, modifying it only slightly by combining the first 2 rnds into: 12 dc into a magic ring for both the cake and the frosting.
- A piece of cake (using THIS pattern with white cake/pink frosting/"raspberry" filling and a flower as decor)

- And three strawberries ("body"/red part of strawberry uses THIS pattern, but I made up my own stem & leaves:
My leaves & stem:
Rnd 1: ch2, 6sc into 2nd chain from hook, do not join (6 sts)
Rnd 2: 2sc into each st, do not join (12 sts)
Rnd 3: ch4, sl st into same st, sl st into next st, ch3, sl st into same st, rep from with all sts. Fasten off.
Stem: Join yarn to a st in the center of the leaves ON THE “WRONG” SIDE (one of your sc from rnd 1), ch 5, sc back 4, sl st into another st in center of leaves, fasten off. Pull stem through center of leaves.

My stem and leaves need to be sewn to the top of the strawberry and means skipped rnds 7-9 of the Easy Peasy pattern.


They were well received! :) I'll likely make some more and post photos of my handiwork eventually. :)

Saturday, February 20, 2010

Working on another CC hat, then another, then an elephant and potentially an amigurumi penis (hey, I have a sense of humor and consider no request ridiculous, haha). I have also added "safety eyes" to my supplies (thanks to Harvey's Hobby Hut and their bulk deals), finally having broken down and decided to try them out. :)

Tuesday, February 9, 2010

And the custom kindle cover... :)


I got a request on etsy for a custom cover/sleeve with purple and pink flowers instead of normal round buttons. I think it came out pretty well!

Get your own custom kindle/nook sleeve at my etsy store: crazystars.etsy.com

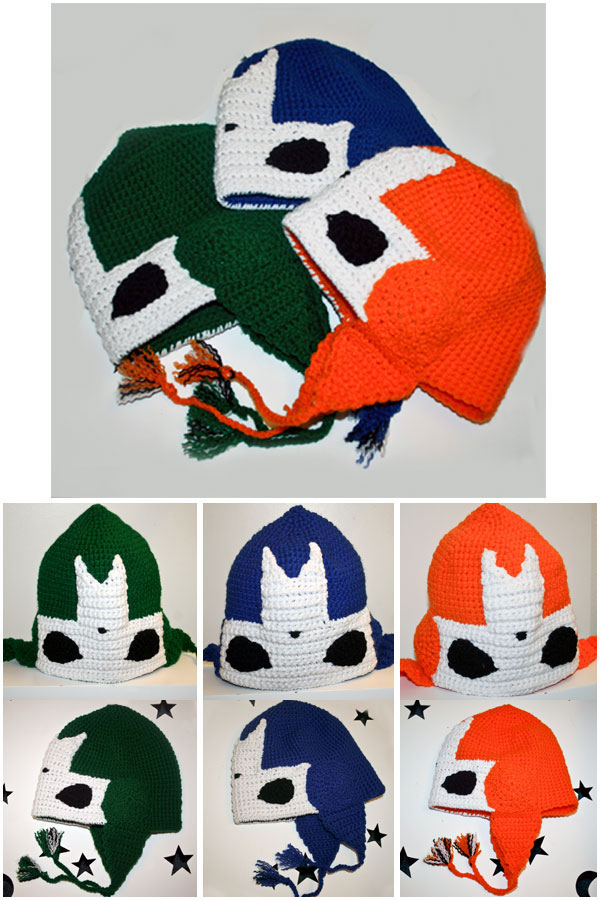
More Castle Crashers Hats!


So I got a few more requests for Castle Crashers hats! I didn't get to snap a photo of the beanie I made (no ear flaps or tassels), but it's recipient was happy with it, so that's more than an enough for me. :)

These hats were made for someone in a forum who requested them. It took me 4 days to make these 3, the beanie and a kindle cover, but I did it! I was a bit of a factory this weekend! :D

Get your own custom Castle Crashers hat from my shop: CrazyStars Handmade

Friday, January 29, 2010

Ctrl Alt Delete Esc Coasters!

I'm not exactly sure where the inspiration came from for this little guy, but boy was he an exercise! His trunk is pose-able (fun, no?) and I'm likely going to attach a heart to his hands that can hold a love note or gift of some sort. :)

These are currently available in my Etsy store!

CTRL ALT DEL ESC Crochet Coasters

These are currently available in my Etsy store!

Creative Commons License
CTRL ALT DEL ESC Coasters by Samantha Bilodeau is licensed under a Creative Commons Attribution-Noncommercial-No Derivative Works 3.0 United States License.

Monday, January 25, 2010

White Elephant for Valentine's Day

I'm not exactly sure where the inspiration came from for this little guy, but boy was he an exercise! His trunk is pose-able (fun, no?) and I'm likely going to attach a heart to his hands that can hold a love note or gift of some sort. :)

He is currently available in my Etsy store!

White Elephant
White Elephant

He is currently available in my Etsy store!

Tuesday, January 19, 2010

Puppy With a Big Heart


On etsy: Pup

A little break from posting projects: Amigurumi Eyes!

So I have made a few things with eyes and I know that eyes for craft projects are something many people experiment with.

Suggestions I've seen (and have not necessarily tried!):
- Sewn-n small black (and white) pom-poms. Available at most craft stores, great for baby, small child and animal toys.
- "Safety eyes" (little plastic screw-like bits complete with "nut" to screw onto the back). These can get fairly pricey, IMO, but are great if you want a certain look. The best place to get these online in bulk is Harvey's Hobby Hut. Otherwise, you can get a pack of 10 eyes (5 pairs) for a couple of bucks at Joann Fabric & Craft.
- Embroidered yarn eyes. I've done this a few times with varying results (I'm not the best at embroidery!). For baby, small child and animal toys, this is also a great option.
- Sculpey/clay eyes. Create eyes out of clay and glue or sew them on.
- Plastic "wiggle" eyes. I've used these a couple of times so far and like the look and the price.
- Button eyes. I've used buttons a few times, though I'll admit it's not always easy to find eyes that work exactly how you want (my experience stemming from purchasing 11+ pounds of various buttons and sifting through them even after I've sorted them by size and color!). Definitely nice for larger projects (i.e. hats) and can be painted if you want pupils.
- Crochet or felt eyes. Crochet a circle the right size or cut some felt the right size. Sew or glew them on. Definitely not a bad option.
- Yarn knot eyes. I haven't used this method exactly yet (I have made french knots and attached those, however), but it looks promising! Knitty Cat Knot Eyes (scoll to the bottom of the page for the PDF.

Monday, January 4, 2010

PATTERN: Scarves for my in-laws

Both of these were improvised (no patterns used). I used a 6.5mm/K hook with bulky yarn. I used about 1.5 skeins of the suede yarn (approx. 180 yards) and an entire skein of the homespun (approx. 180 yards) and each one took 6-8 hours.
ch17
Row 1: sc in 2nd chain from hook, sc in all sts - 16 sts
Row 2: ch1, turn, sc in all sts - 16 sts
Row 3-70: ch2, turn, dc in all sts - 16 sts
Row 71: ch1, turn, sc in all sts - 16 sts
Row 72: ch1, turn, sc in all sts, fasten off & weave in end - 16 sts


Photobucket

Lion Brand Suede in teal for my father-in-law

Photobucket

Photobucket

Lion Brand Homespun in rose for my mother-in-law

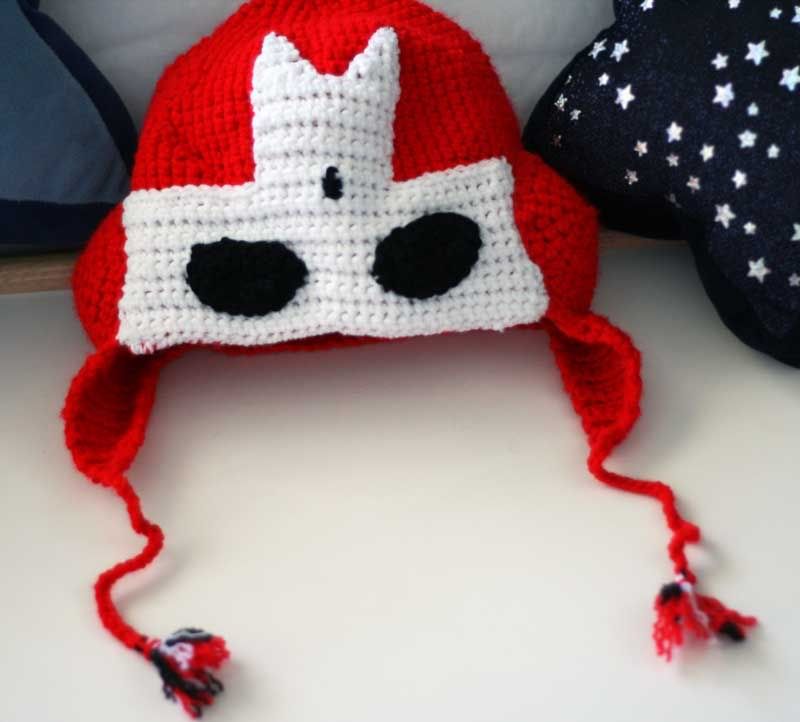
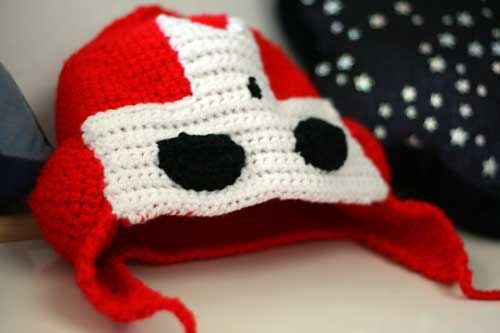
Castle Crashers Knight Beanie

This was a custom hat made for an Etsy customer. Upon making it, I realized
1) I have gotten MUCH better at crochet and my stitches are much tighter (yay!)
2) The eyes are a bit wonky as in the original pattern, so I changed them for this and have updated both the PDF and the post with the new eyes.

© Samantha Bilodeau/SykoSam
PDF available here (Please message me for the pattern!): CrazyStars Handmade

Get your own custom Castle Crashers hat from my shop: CrazyStars Handmade

crochet

crochet

crochet
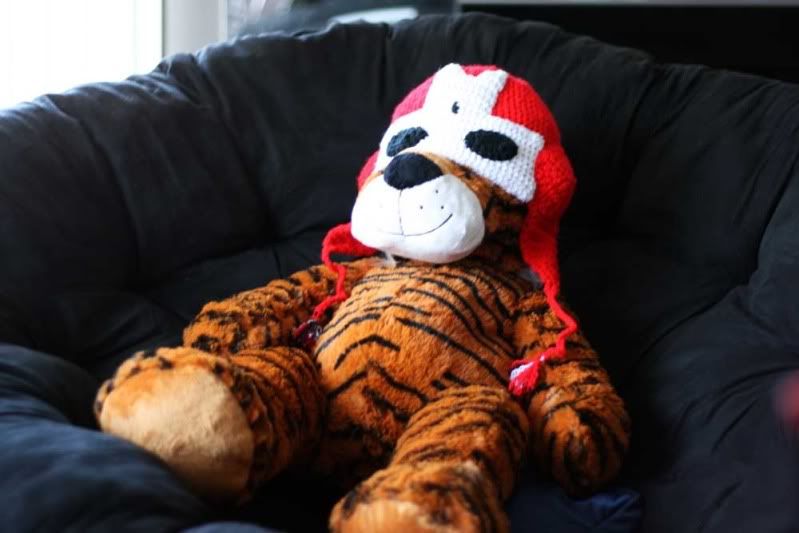
My husband had a bit of fun and put the hat on a big plush lion, hehe. :)

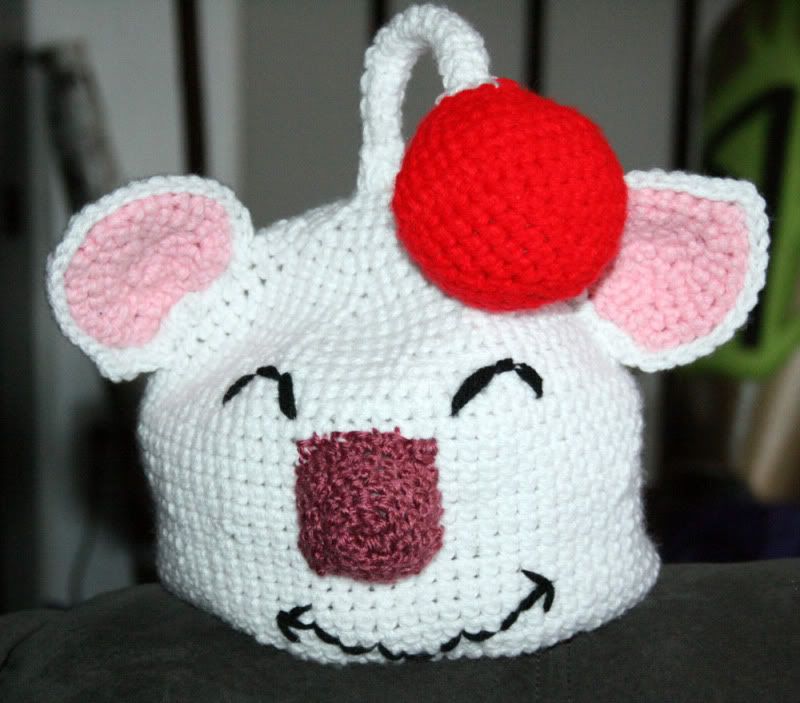
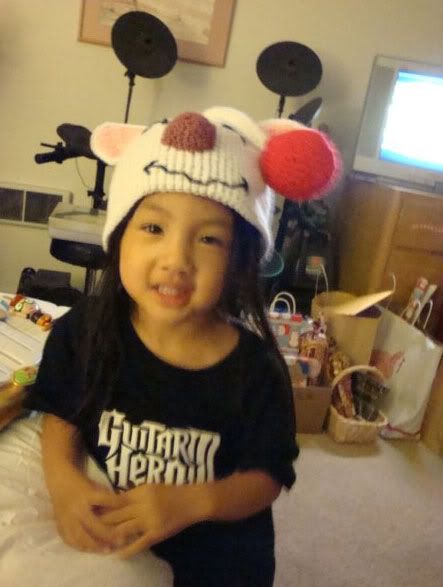
Moogle (Final Fantasy) hat for Samantha (not me :P)

I was trying to figure out the perfect creature for a hat for my friend's daughter and decided on a Moogle from Final Fantasy. A search around the internet came up with no crochet patterns, so I improvised this one.

crochet

Photobucket